Introduction
This document describes how to use the Speakeasy Asset Manager App to register and edit details of assets owned by Speakeasy, e.g. computer hardware or other valuable items (projectors, routers, etc). The list can be used as a reference for identifying those devices which need PAT electrical testing and to identify who has current possession of valuable items of equipment such as laptops.
Instructions
Launching the App
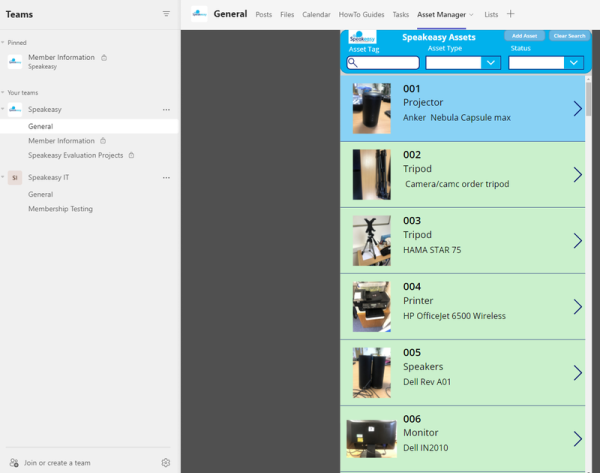
Launch the Speakeasy Staff Trustee Contacts App from Microsoft Teams. There is an “Asset Manager” tab available via the Speakeasy…General team. See the screenshot below:
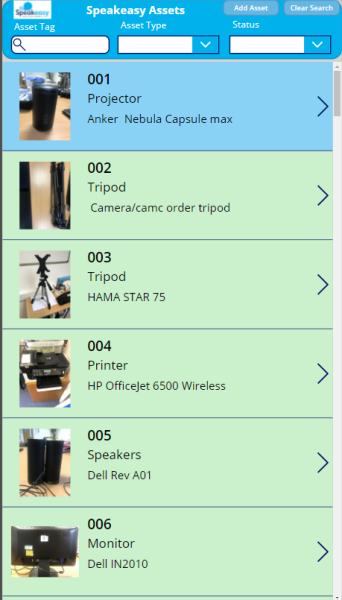
Searching for an Asset
To search for an asset, type tag id into the “Asset Tag” box. If the asset tag is not known, try limiting the search by specifying something in the “Asset Type” dropdown list, e.g. “Laptop”. You can also find details of assets which are no longer active (e.g. in repair, retired) by specifying a value in the “Status” box. To reset the search details back to the default, click the “Clear Search” button near the top right hand side of the app. The default search returns all assets with a status of “Available”.
Registering a New Asset
To register a new asset, click the “Add Asset” button which is located at the top of the app, next to the “Clear Search” button. A screen similar to that shown below will be displayed:
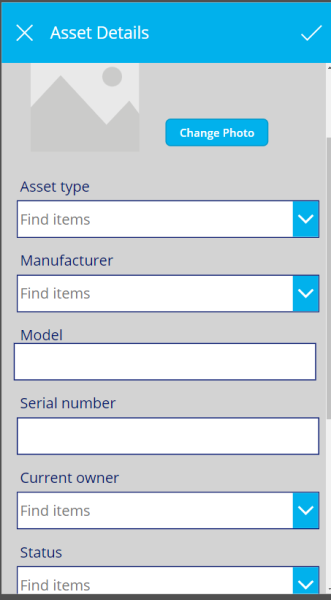
Simply click in any field and edit the details as appropriate. To save changes, click the tick icon at the top right hand side of the app. To cancel all changes, click the cross app at the top left hand side of the app.
Editing Asset Details
To edit an existing asset’s details, locate the asset using the search instructions described above, then click the item to view its details. An example is given below:
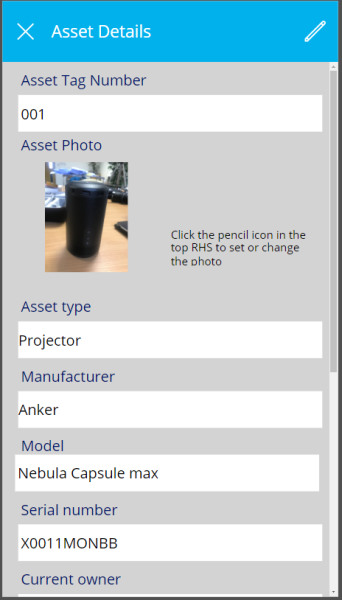
To edit the details, click the pencil icon at the top right-hand side of the app. The screen will change appearance (borders appear around most controls) as shown below:
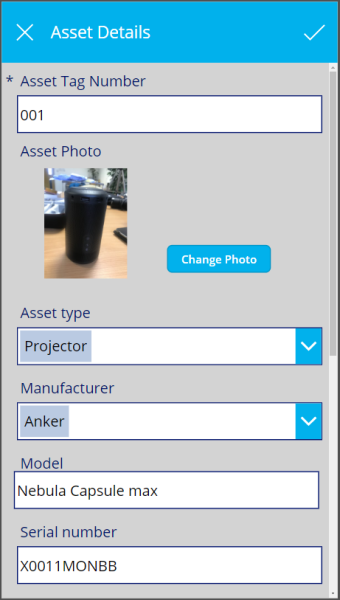
To save details, click the tick icon at the top right-hand side of the app, or to cancel any changes, click the cross icon at the top left-hand side of the app.
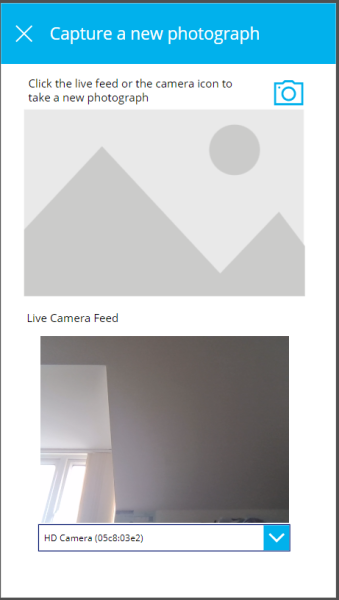
Taking a Photo of an Asset
The easiest way to achieve capture an image of an asset is to launch the app from a smartphone. Navigate to the asset whose image you wish to add or modify, then click the pencil icon to edit the details. Click the “Change Photo” button which appears. Click the “Change Photo” button. A screen will then appear which will allow you to view a camera feed. See the example below: