Introduction
Speakeasy use a standard background image for all online meetings. This guide describes how to set this up in both Microsoft Teams and Zoom
Setting a Background Image in Microsoft Teams
Note – this only ever needs to be done once – after a background image has been set up, any future meetings will continue use the same background image. However, the instructions below can be repeated if the image does need to change.
Launch Microsoft Teams
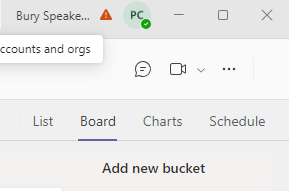
Click on the Camera Icon near the top right hand side of Teams – see the image below:
A meeting screen will appear which will show your picture from the camera’s perspective. The following options should be available to the right of the camera view:
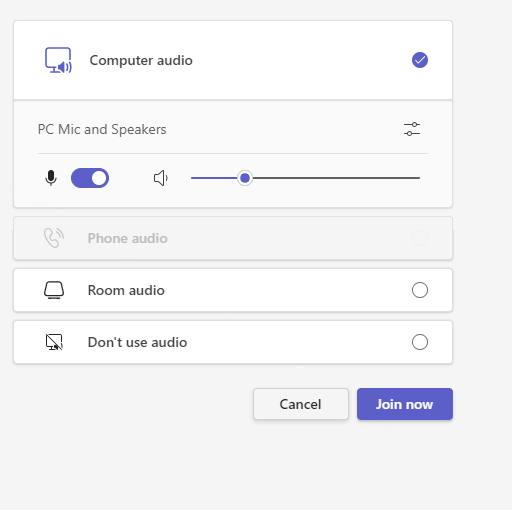
Click the “Join Now” button to start a meeting. Close any box which appears prompting you to invite others to the meeting or send a link to others – this meeting does not need any participants as it is being started just so a background can be selected.
Click the “More” ellipsis which is in the menu options towards the top of the screen, then select “Video effects and settings”. See below:

A screen will appear which enables a background image to be specified. See below:
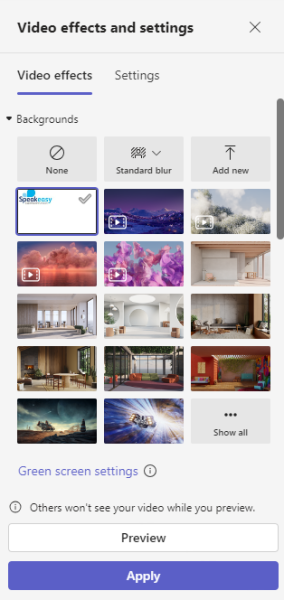
Select the Speakeasy image, which has a white background containing the Speakeasy logo. If this image is not available, select “Add new” and select the following file:
Speakeasy – General\Technology -resources and support organisations\Images\SpeakeasyTeamsBackground.jpg
Click the “Preview” button to check the image appears correctly, then click “Apply”.
Note: the image will appear like a mirror image to you, but will appear correctly when viewed by other attendees of meetings that you set up or attend.